


SereneDrains
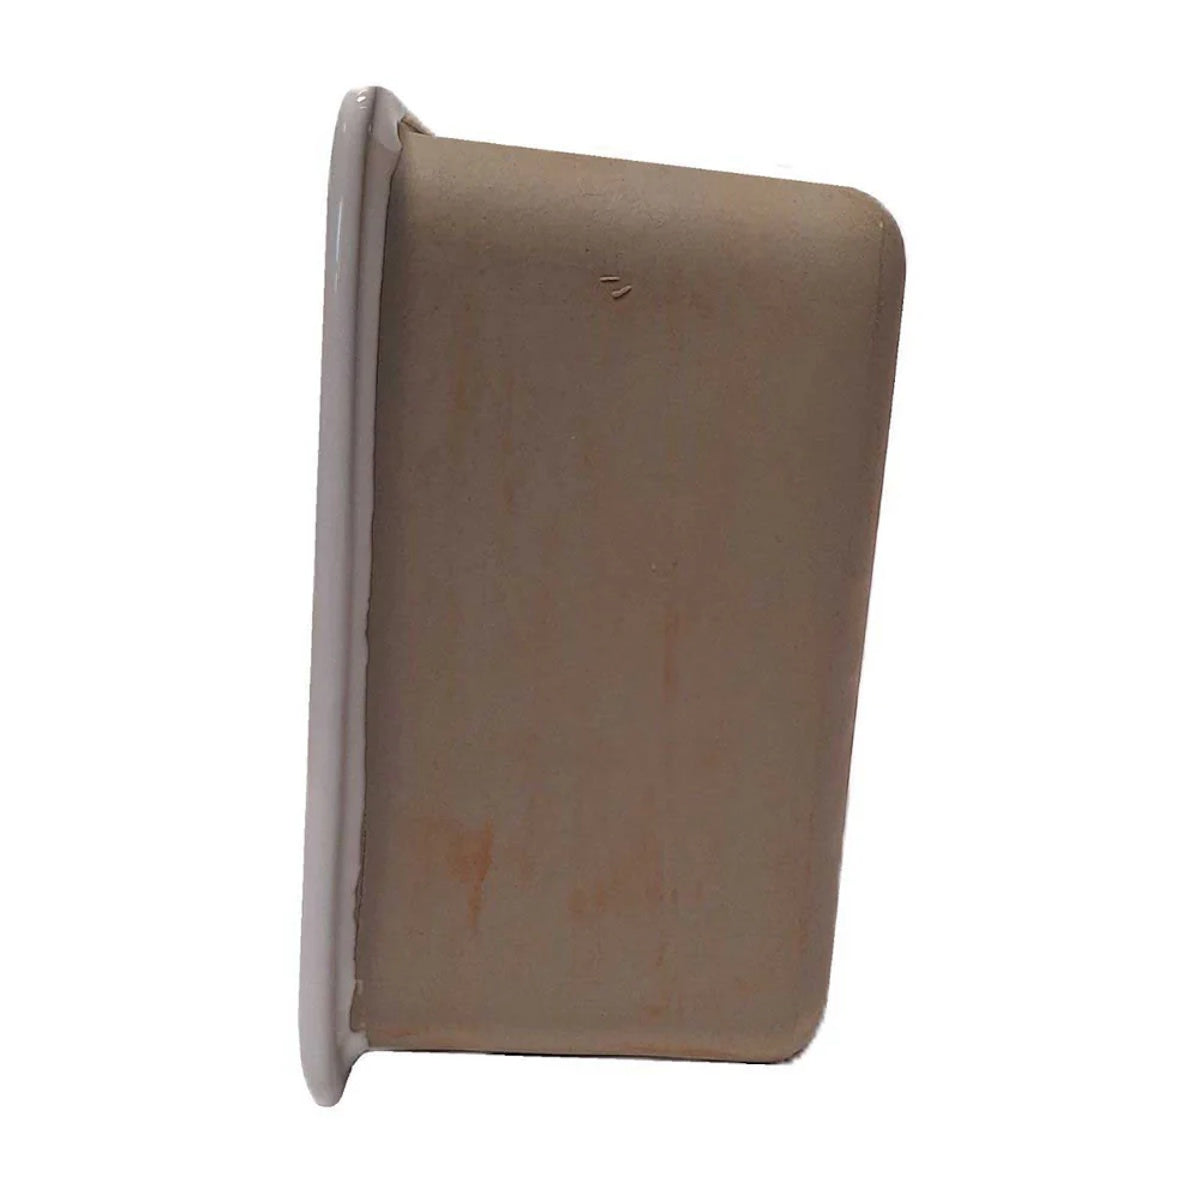
Recessed Porcelain Soap Dish for Shower, Wall-Mount Built-In Soap Holder, White Glossy 6x6"
Recessed Porcelain Soap Dish for Shower, Wall-Mount Built-In Soap Holder, White Glossy 6x6"
Regular price
$89.50 USD
Regular price
Sale price
$89.50 USD
Unit price
per
Shipping calculated at checkout.
Couldn't load pickup availability
SereneDrains Recessed Porcelain Soap Dish for Shower, Wall-Mount Built-In Soap Holder, White Glossy 6x6"
Add a clean, timeless touch to your bathroom with this recessed porcelain soap dish for shower. Crafted from premium ceramic materials, it offers lasting durability and a built-in design that saves space while giving your wall a beautiful, seamless look. This wall-mounted 6x6" holder installs easily without additional waterproofing, making it a smart choice for any shower renovation. The glossy white finish complements all tile styles, and maintenance is effortless—just clean with all-purpose cleaners to keep it shining like new.
Dimensions:
- Front: 6.5" x 6.5"
- Back Insert: 5.85" x 5.85"
- Side Projection: 3.5"
Features:
- Made of premium ceramic materials.
- Ready for installation with no need for waterproofing.
- Clean with all-purpose cleaners only.
- Perfect for compact bathrooms and a sleek, built-in look.
- Easy installation with just a few simple steps.
Installation Instructions:
Step 1: Select Location
- Choose a convenient and accessible spot on the wall.
- Ensure no pipes, electrical wires, or studs are behind the location.
- Mark the position with a pencil, using a level to keep it straight.
Step 2: Cut the Opening
- Measure the recessed portion of the accessory (the part that fits into the wall).
- Transfer dimensions to the wall, adding about 1/8" clearance.
- Carefully cut the opening using a tile saw for tiled walls or a drywall saw for non-tiled surfaces.
Step 3: Prepare the Surface
- Clean any dust or debris from the cut opening.
- Test-fit the accessory to ensure it sits flush with the wall; adjust opening if needed.
Step 4: Insert the Accessory
- Press the accessory firmly into the opening until flush with the wall surface.
- Use a level to ensure it is straight and properly aligned.
Step 5: Seal with Silicone
- Run a clean bead of silicone sealant around all outside edges where it meets the tile or wall.
- Smooth the silicone with a damp finger or finishing tool for a neat appearance.
- Allow silicone to fully cure before use.
Step 6: Final Check
- Confirm the accessory is secure and level.
- Clean the surface with a soft cloth.

Shipping Time & Delivery
Shipping Time & Delivery
- Orders are shipped via USPS, UPS, or FedEx.
- Most orders ship the same or next business day. The order processing cut-off time is 4:00 PM PST for most items.
- Standard shipping time is up to 5 business days within the continental U.S. (48 states). Weekends and holidays are not included.
- For international shipping, Canada, and states outside the contiguous 48 U.S. states, including Hawaii, Puerto Rico, and Alaska, please contact us for a shipping quote.
- Important: If your address cannot receive deliveries from USPS, UPS, or FedEx, please contact us before placing your order.
Expedited Shipping Options
Expedited Shipping Options
For overnight or 2–3 business day expedited shipping, please contact us with the product details and complete shipping address to receive a shipping quote.